To make sure your calendar, event reminders, and other features are always
correct, please tell us your time zone (and other details) using the
drop-down menus below:
Set Date/Time format:
In 12 Hour format the hours will be displayed as 1 through 12 with “a.m.” and “p.m.”
displayed after the time (ex. 1:00p.m.). In 24 hour format the hours will be displayed as 00 through 23 (ex. 13:00).
You can always change your time zone by going to your Account Settings.
Use the dropdown menu to view the events in another time zone. The primary time zone will be displayed in parentheses.
Use the dropdown menu to view the events in another time zone. The primary time zone will be displayed in parentheses.
Visiting Jennifer Autry(username: jenniferautry)
Tag
Please wait...
Select a Color
Manage Applications
Check the items that you want displayed. Uncheck all to hide the section.
Calendars
Files
Addresses
To Dos
Discussions
Photos
Bookmarks
The “Switch Navigator” button will no longer be available after February 14, 2017.
Please learn more about how to use the new Navigator by clicking this link.
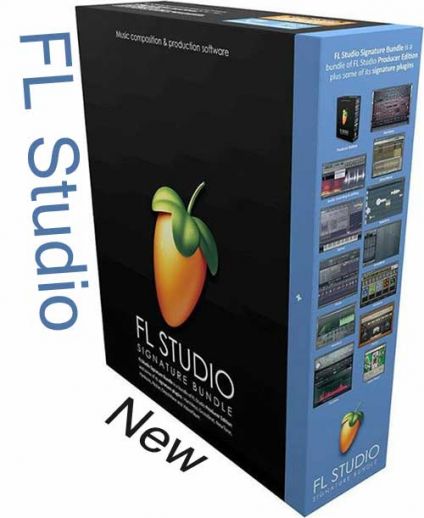
Get FL Studio And Show The Easy Tips
You'll use the Browser panel to seem for several ready samples to use inside your Pattern. Under Packs and Misc, you've got ready samples and loops; under Impulses, you discover everything for the beats; under Channel presets generators and synchs to make your own customized channel sound and, under Speech, several amazing vocal recordings.
You'll also add new channels by dragging and dropping any of your audio files from your computer on to the Channel Rack. during this case, the only Step enabled plays the entire file entirely, so confirm to not have close Steps enabled otherwise you would get sound overlapped.
Now, let's examine the way to edit each channel inside the pattern. Right-click on a channel name to rename, color, provides a proper icon, or delete it. If you click on the channel name, you'll check its sound waveform and adjust any of its properties. concentrate that the interface can change deeply counting on the sample or plug-in used for the channel.
On the left side, you get a green light, won't to mute or unmeet the present channel. on the brink of it, you've got two knobs: the primary one adjusts the panning, wont to balance the left and right stereo outputs; whereas the second knob is employed to line the channel volume. a whole project is formed by several patterns, each collecting different sorts of sound.
Usually, there's one dedicated to vocals, others to the beats, et al. to the melodies. to make a replacement pattern, just click on the plus button below the player, and sort the name for it. Get latest version https://www.fileour.com/fl-studio-full-version-free-download/ and done.
The Channel Rack shows only one Pattern per time, that you simply can choose between the Patterns list inside the proper arrow below the player. Remember that each one the Patterns inside a project do share an equivalent identical channels list. What changes between them is that the channel steps are on and off, and therefore the overall Pattern duration in Bars.
You can rename, clone or delete the chosen Pattern right next to the Patterns list below the most player.
The direct Steps from the Channel Rack are a really easy and fast thanks to creating Patterns from channels, but just in case you would like to regulate the tone and therefore the properties for every single Step, you've got to use the Piano Roll window, that you simply can open through the second button on top.
This window opens the chosen channel, shown on top, during a more extended workspace of FL Studio, that permits to settle on the right tone (or note) for every channel hit, including its properties, its time duration and also allows using overlapping hits. you've got a keyboard on the left, with rows representing each note, then columns separating Bars, Beats and Ticks through time.
For a few other channels made by synthesizers, the keyboard can change, showing several instruments composing the channel sound. we cannot see these in his beginner tutorial.
Attach this document to an event, task, or address
You can attach a link to this document to an event in your Calendar, a task in your To Do list or an Address. Check the boxes below for the data you want to
bring into the event’s or task’s description, and then click “Select text to copy” to have the next event or task you create or edit have the document text and link.