To make sure your calendar, event reminders, and other features are always
correct, please tell us your time zone (and other details) using the
drop-down menus below:
Set Date/Time format:
In 12 Hour format the hours will be displayed as 1 through 12 with “a.m.” and “p.m.”
displayed after the time (ex. 1:00p.m.). In 24 hour format the hours will be displayed as 00 through 23 (ex. 13:00).
You can always change your time zone by going to your Account Settings.
Use the dropdown menu to view the events in another time zone. The primary time zone will be displayed in parentheses.
Use the dropdown menu to view the events in another time zone. The primary time zone will be displayed in parentheses.
Check the items that you want displayed. Uncheck all to hide the section.
Calendars
Files
Addresses
To Dos
Discussions
Photos
Bookmarks
The “Switch Navigator” button will no longer be available after February 14, 2017.
Please learn more about how to use the new Navigator by clicking this link.
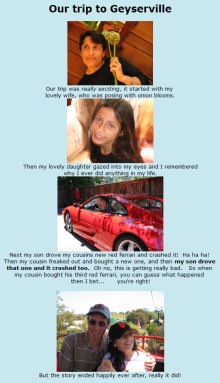
(sample) Look at everything you can do in a Photo Blog
Look at Everything You Can Do in a Photo Blog
This is a demonstration photo blog, where I'll show you various layout and formatting techniques you can use in KeepAndShare's powerful document editor.
Many people create photo blogs that are a single long scroll of photos like the sample photo blog on the right.
Photo blogs are great because they allow you unlimited text before, after and around your photos, and your viewers can see the whole blog at once - they don't have to click from photo to photo. So photo blogs are a terrific story-telling medium.
You can add variety and visual interest to your blog by:
Using photos of varying sizes
Using various techniques to occasionally put photos side-by-side
Attractively formatting your headlines and caption text
Keep reading and I'll show you how to do all this and more!
Photos in the KeepAndShare editor are treated as if they are just a single character, albeit a large character. This implies that you can have more than one photo on a line if the photos are small and if you don't have carriage-returns between the photos.
Here are three photos of our Paris trip where I simply inserted the photos on the same line with a few space characters in between them (but I didn't hit the Enter key). To make it really clear, I also put a few characters in between the photos - but the three photos are all still on a single line:
a few characters spaces...
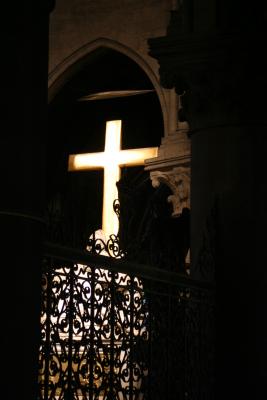
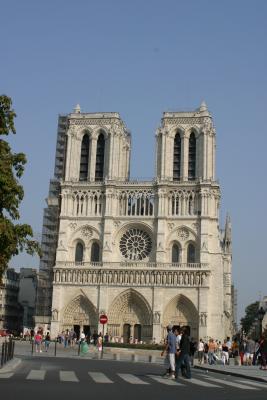
One of the first things we saw in Paris was Notre Dame.
Side by side photos are so great you should also learn how to use "Tables" to give you tremendous layout flexibility. Just click on the "Insert Table" icon in the document editor when you are editing your photo blog. Our Paris photos below are arranged in a simple table with 1 row and 3 columns. Tables normally have their borders turned off, so you can't see the table below. Notice that by using a table, you can keep photo caption text exactly underneath the photo.
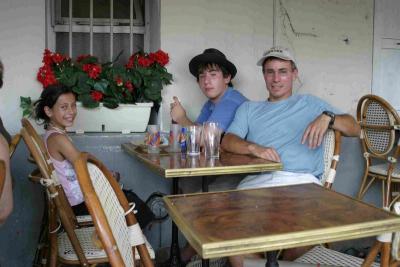
At a Paris Caf�
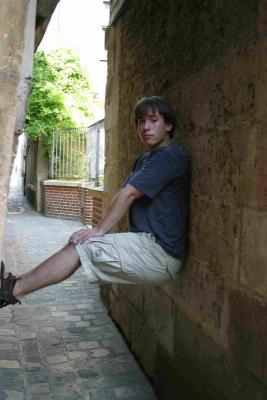
In Rouen, France
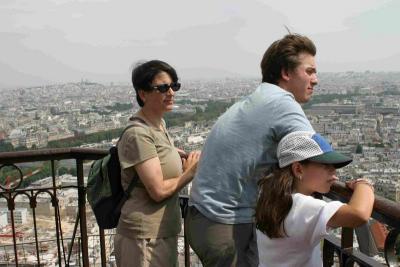
View from the Eiffel Tower
But here is the same table copied, and I've turned on the table borders and made them blue so you can clearly see how the table holds the photos and captions.
At a Paris Caf�
In Rouen, France
View from the Eiffel Tower
You can get really sophisticated layout control by using tables. The following table is 2 rows with 3 columns:
Our Trip to Paris
August, 2003
In this cell I also right-clicked and used the cell-properties command to align this text at the 'top' of the cell.
A table with 2 rows and 3 columns gives you formatting flexibility.
Remember, I turned on the blue borders on purpose so you could see the logical structure of this table - usually I wouldn't do that - too much visual clutter!
For this table I right-clicked on the table in the editor to set the brownish 'background color' for the table.
Here's how I got the text in the above table to be white: I highlighted the text and used the Foreground color icon to set the text color to white. Pops right out at you against the dark background! I also chose different font sizes and used the bold command on some text.
Sometimes the simplest tables and formatting are more than enough. The following is a simple 1 row, two column table. But I put the text caption on the top of the right-hand photo, creating some nice visual tension.
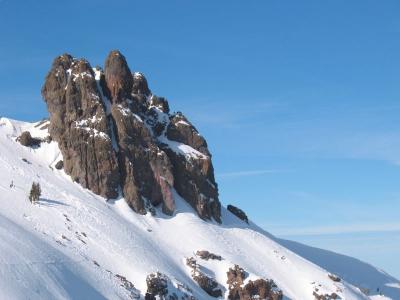
View of Glove Rock from the east, taken in early December and with a shutter speed of 150 and aperture of F 8.2
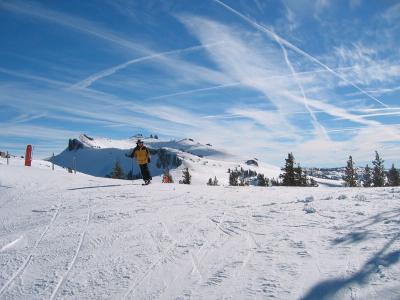
At the top of Kirkwood's famed Sentinel Bowl, Kevin is ready to ski down and show us his stuff. Look at that gorgeous sky.
You might have noticed that the last couple of tables were centered in your browser window, rather than against the left border. That's because I used the KeepAndShare editor's Alignment buttons: . They're great!
When formatting your photos and text, be sure to remember to use the left, center and right alignment icons to control the left-to-right spacing of your information. Here is the same photo with three different alignments. Here is the same photo but aligned left, center and right:
Left Alignment
Center Alignment
Right Alignment
Notice that the text captions were also left, center and right aligned. See how nicely the boldface command makes them stand out.
Here is a formatting tip on how to control the width of your text paragraphs. First, notice how the following text is as wide as your browser window:
Lorem ipsum dolor sit amet, consectetuer adipiscing elit, sed diam nonummy nibh euismod tincidunt ut laoreet dolore magna aliquam erat volutpat. Ut wisi enim ad minim veniam, quis nostrud exerci tation ullamcorper suscipit lobortis nisl ut aliquip ex ea commodo consequat. Duis autem vel eum iriure dolor in hendrerit in vulputate velit esse molestie consequat, vel illum dolore eu feugiat nulla facilisis at vero eros et accumsan et iusto odio dignissim qui blandit praesent luptatum zzril delenit augue duis dolore te feugait nulla facilisi.
You can control the width of the text two ways. The first way is to hit the "Enter" key wherever you want to force a line break, such as at the end of every line.
The second is to put a table around the text. Here is the same text in a single cell table (that is, 1 row and 1 column). (remember I have the blue border visible just to help you visualize the table). When I created the table I chose a table width of "600 px". Then I used the center alignment to put this table into the middle of the page.
Lorem ipsum dolor sit amet, consectetuer adipiscing elit, sed diam nonummy nibh euismod tincidunt ut laoreet dolore magna aliquam erat volutpat. Ut wisi enim ad minim veniam, quis nostrud exerci tation ullamcorper suscipit lobortis nisl ut aliquip ex ea commodo consequat. Duis autem vel eum iriure dolor in hendrerit in vulputate velit esse molestie consequat, vel illum dolore eu feugiat nulla facilisis at vero eros et accumsan et iusto odio dignissim qui blandit praesent luptatum zzril delenit augue duis dolore te feugait nulla facilisi.
That's all of my advice for today. Go enjoy!
Click onHelp in KeepAndShare for additional information on working with photo blogs.
 a few characters
  spaces...